
 Save
Save
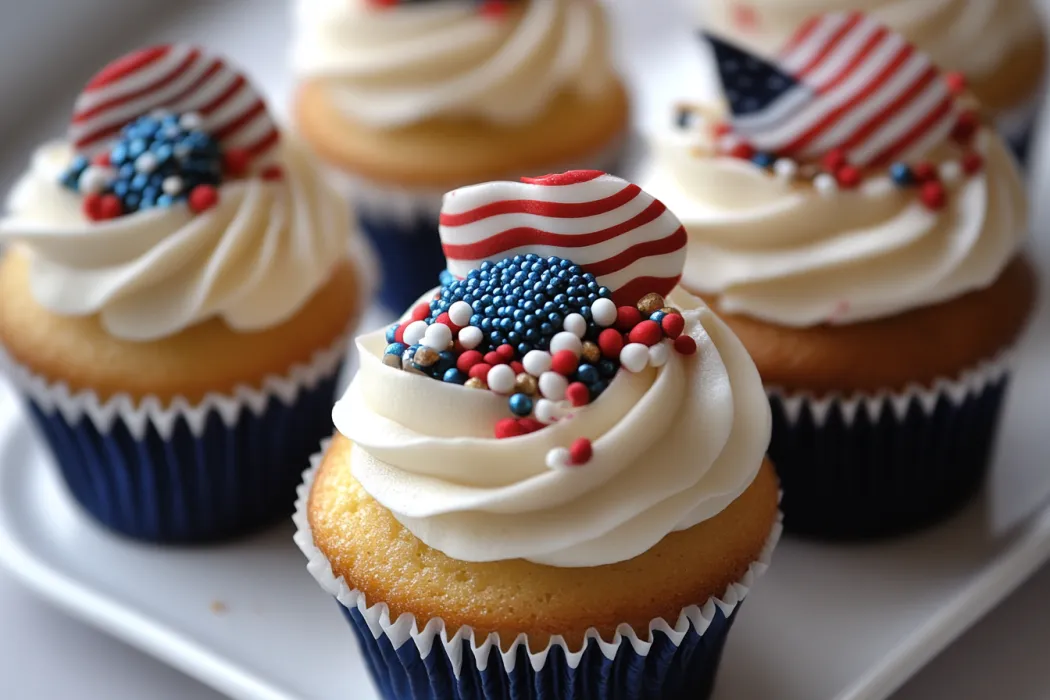
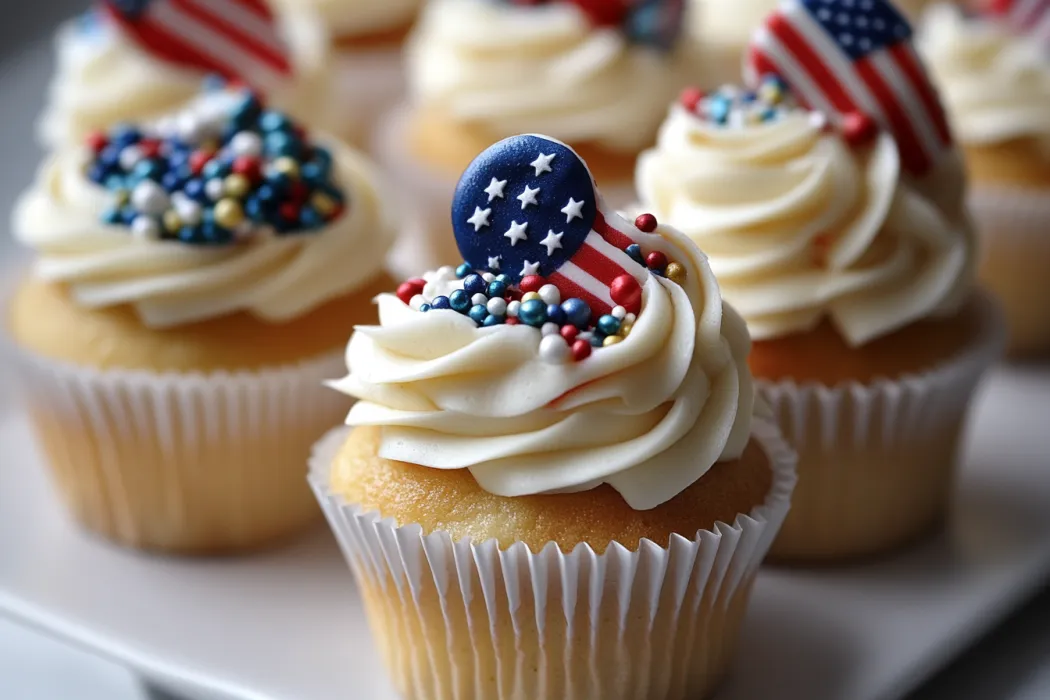
This festive patriotic cupcake recipe transforms ordinary vanilla cupcakes into stunning Independence Day treats perfect for your July 4th celebration. The red, white, and blue frosting swirls create a beautiful display that will impress guests at any summer gathering while being simple enough for bakers of all skill levels.
I first made these for our neighborhood block party three years ago, and they were such a hit that they've become my signature contribution to our annual celebration. Even my son who rarely bakes has mastered making these with me as our holiday tradition.
Ingredients
- All purpose flour creates a tender but sturdy base for these celebration cupcakes
- Baking powder gives just the right amount of lift for perfect dome tops
- Unsalted butter adds rich flavor while letting you control the salt content
- Granulated sugar provides sweetness and helps create that fine crumb texture
- Eggs bind everything together and contribute to the soft texture
- Vanilla extract enhances the flavor without competing with the festive decorations
- Whole milk adds moisture and richness to the cupcake batter
- Powdered sugar creates a smooth frosting that pipes beautifully
- Heavy cream gives the frosting a silky consistency that holds its shape
- Food coloring gel works better than liquid for achieving vibrant red and blue colors
- Sprinkles and flag decorations transform simple cupcakes into festive treats
Step-by-Step Instructions
- Prepare Your Workspace
- Preheat oven to 350°F and line your muffin tin with festive liners. I recommend setting out all ingredients before starting so everything flows smoothly. This recipe makes exactly 12 standard cupcakes, perfect for smaller gatherings.
- Mix Dry Ingredients
- Whisk together flour, baking powder, and salt in a medium bowl until well combined. This step ensures even distribution of leavening agents and prevents flour pockets in your finished cupcakes. The mixture should look uniform with no visible clumps.
- Cream Butter and Sugar
- Beat softened butter and sugar together on medium high speed for at least 3 minutes until the mixture becomes pale and fluffy. This extended creaming process incorporates air which helps create light, tender cupcakes. The mixture should nearly double in volume.
- Add Wet Ingredients
- Add eggs one at a time, beating well after each addition until fully incorporated. Pour in vanilla extract and beat until combined. The batter may look slightly curdled at this stage, but will smooth out when you add the flour mixture.
- Combine Wet and Dry Ingredients
- Add the flour mixture in three parts, alternating with milk, beginning and ending with flour. Mix on low speed just until combined after each addition. This method prevents overmixing which can make cupcakes tough. The final batter should be smooth and have a medium thickness.
- Bake to Perfection
- Fill each cupcake liner approximately two thirds full. An ice cream scoop works perfectly for this task. Bake for exactly 18 to 20 minutes until the tops spring back when lightly touched and a toothpick inserted in the center comes out clean. Allow to cool completely before frosting.
- Create Tri Color Frosting
- Beat butter until creamy before gradually adding powdered sugar one cup at a time. Add vanilla, cream, and salt, then beat on high speed for 3 minutes until light and fluffy. Divide frosting into three portions and color one red and one blue, leaving the third white.
- Decorate with Patriotic Flair
- Prepare a piping bag with a large star tip. Place all three frosting colors side by side in the bag for a tri color swirl effect. Pipe a generous swirl on each cooled cupcake, starting from the outside edge and working toward the center with consistent pressure. Top with sprinkles and flag decorations.
 Save
Save
I always use gel food coloring instead of liquid for these cupcakes after learning through trial and error. The first time I made them with liquid coloring, the frosting became too thin and wouldn't hold its shape. My daughter still remembers the "melting flag cupcakes" that tasted great but looked nothing like what we intended.
Make Ahead Options
The unfrosted cupcakes can be baked up to three days in advance and stored in an airtight container at room temperature. For longer storage, wrap them individually in plastic wrap and freeze for up to one month. Thaw completely at room temperature before decorating. The frosting can also be made a day ahead and stored in the refrigerator. Let it come to room temperature and re-whip for a few minutes before using for the best piping consistency.
Perfect Swirl Technique
Achieving the beautiful tri color swirl is easier than it looks. After dividing and coloring your frosting, lay a piece of plastic wrap flat on your counter. Spoon each color in parallel lines along the plastic wrap, then roll it up into a log shape. Snip one end and place the entire log into your piping bag with the tip already attached. This method ensures all three colors flow evenly from your piping bag, creating that perfect patriotic swirl on every cupcake.
Kid-Friendly Variations
Turn this recipe into a fun family activity by setting up a cupcake decorating station. Prepare plain frosted cupcakes and provide red and blue sprinkles, mini marshmallows, and small star-shaped candies. Children love creating their own patriotic designs while learning about the holiday. For younger children, try using plastic decorating bottles instead of piping bags for easier handling. This approach has become a beloved tradition in my house, with the kids taking increasing responsibility for the decorating as they grow older.
Recipe FAQs
- → How far in advance can I make these cupcakes?
You can bake the cupcakes up to 2 days in advance and store in an airtight container at room temperature. Alternatively, freeze unfrosted cupcakes for up to 1 month. For best results, prepare the frosting and decorate on the day of serving, though decorated cupcakes can be refrigerated for up to 24 hours.
- → How do I create the tri-color swirl in the frosting?
There are two methods: 1) Use a tri-color coupler attachment with your piping set, placing each color in a separate compartment, or 2) Place three separate piping bags with red, white, and blue frosting inside one larger piping bag fitted with your decorating tip. When you squeeze, all three colors will come out together creating the swirl effect.
- → Can I substitute the food coloring with natural alternatives?
Yes! For natural coloring, use beet powder or strawberry puree for red, and butterfly pea powder or blueberry puree for blue. Note that natural colorings may produce more subtle hues than commercial food coloring. Adjust quantities to achieve your desired color intensity.
- → What's the best way to display these cupcakes at a party?
Arrange the cupcakes on a tiered stand or in the shape of an American flag on a rectangular tray (blue corner with stars, alternating red and white rows). For outdoor events, keep them in the shade and consider refrigerating until 30 minutes before serving, especially in hot weather.
- → Can I make these cupcakes gluten-free?
Absolutely! Substitute the all-purpose flour with a 1:1 gluten-free baking flour blend. Many brands work well in cupcake recipes. Just ensure your decorative elements like sprinkles and candy stars are also gluten-free if necessary for your guests.
- → How do I prevent the food coloring from staining mouths and teeth?
Use gel food coloring instead of liquid, as it provides vibrant color with less product. For the red frosting, which typically causes the most staining, consider using a slightly pink shade rather than deep red. You can also place the colored frosting in the center of your piping design, with white frosting on the outer edges that contact the mouth first.