
 Save
Save
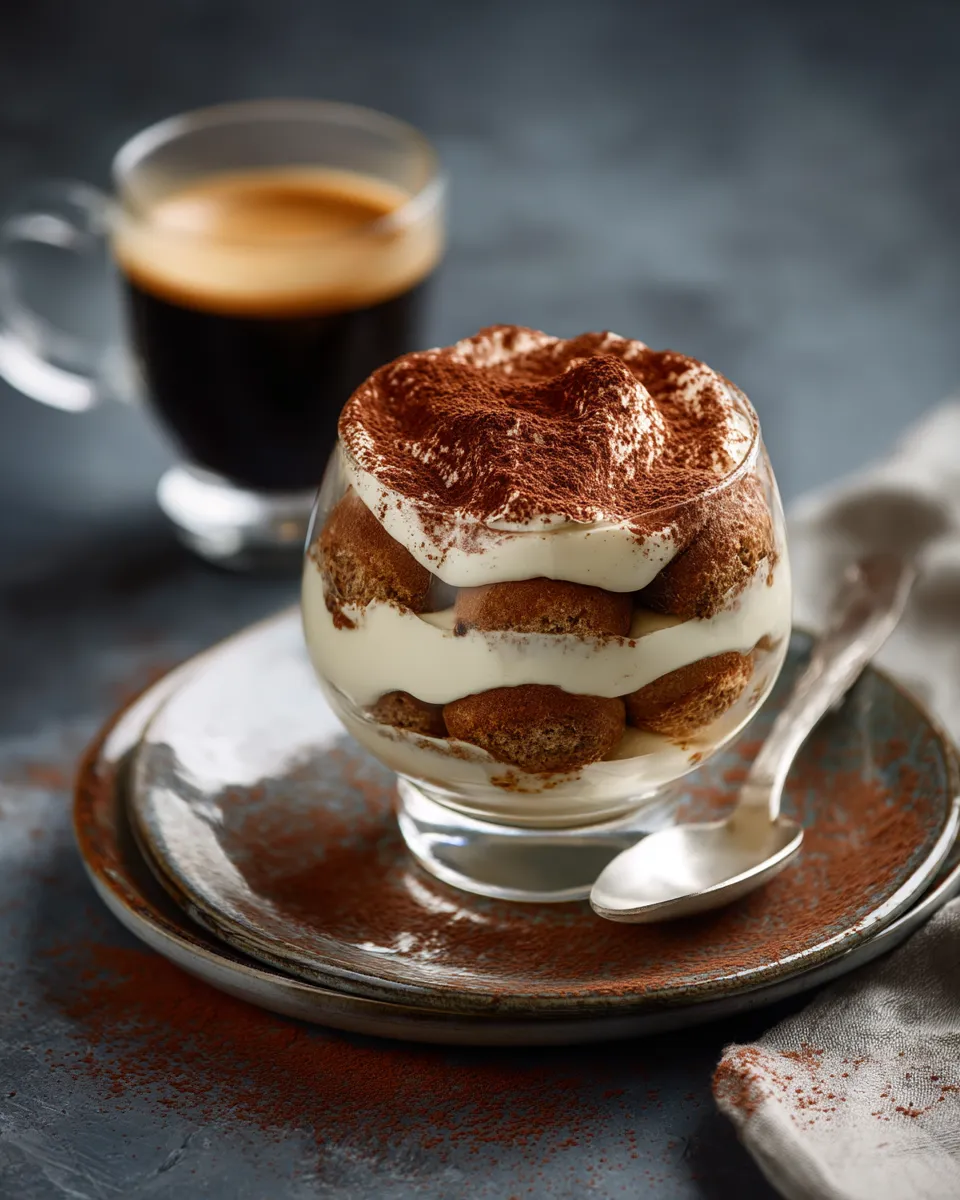
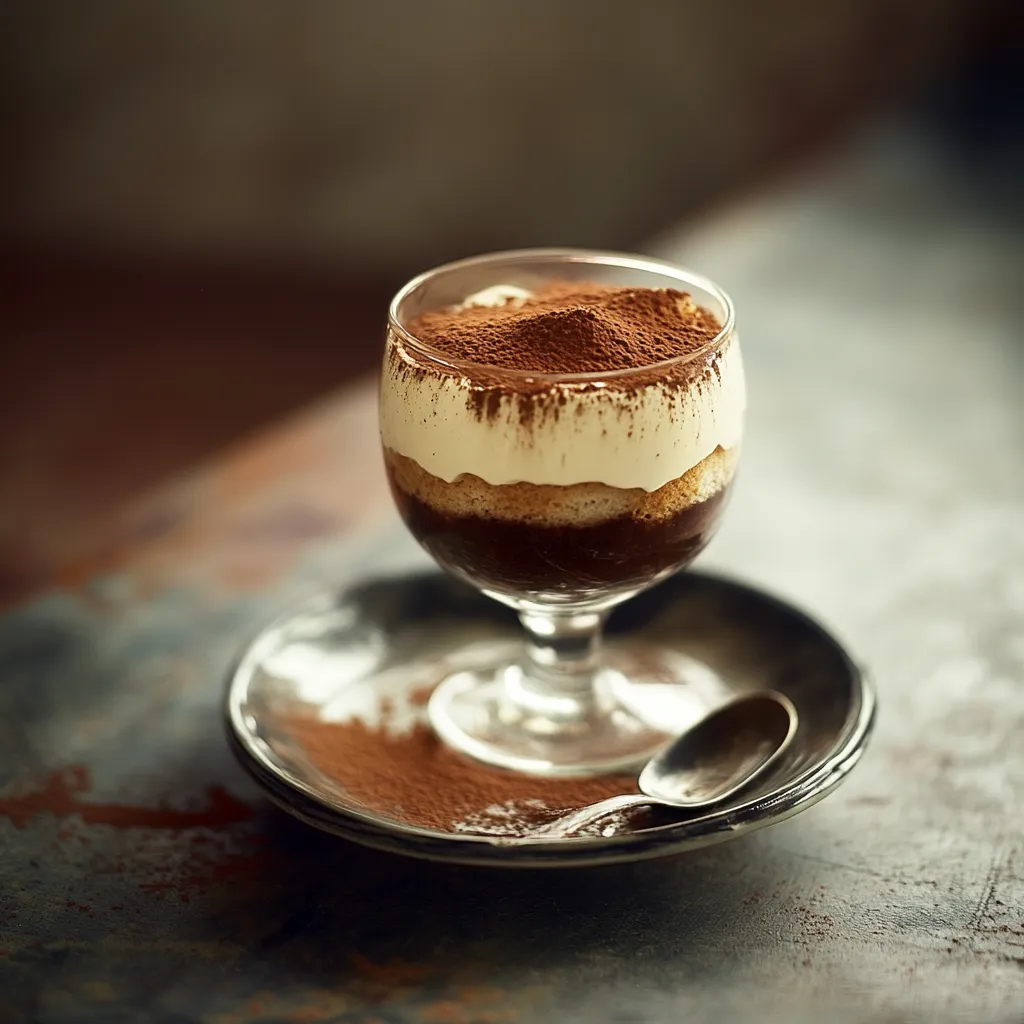
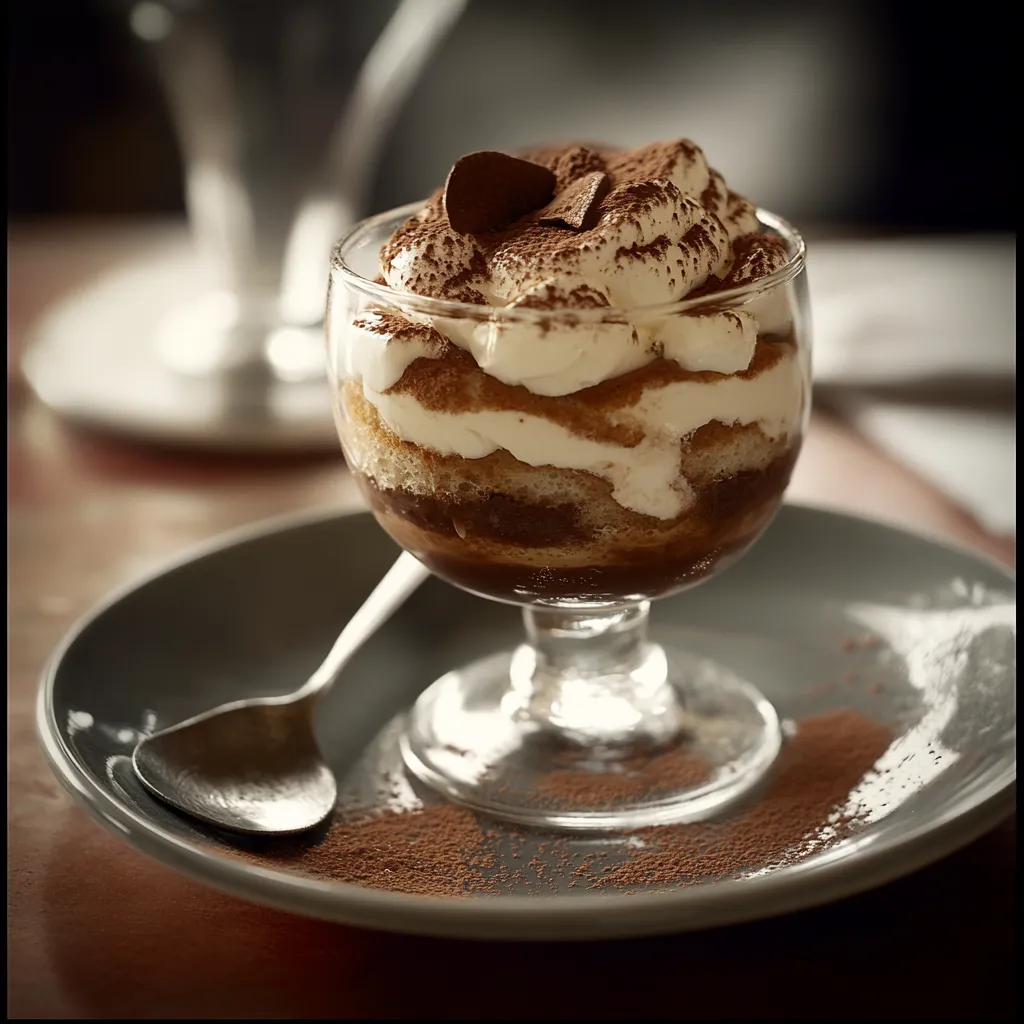
This refined take on tiramisu transforms the classic Italian dessert into an elegant individual serving that's perfect for dinner parties or special occasions. The contrast between the creamy mascarpone layers and coffee-soaked ladyfingers creates a sophisticated dessert that looks as impressive as it tastes, all beautifully presented in clear glasses to showcase the stunning layers.
I first served these glass tiramisus at a holiday gathering last year, and they've become my signature dessert ever since. The transparent glasses revealing those perfect layers always draw gasps from guests before they've even taken their first bite.
Ingredients
- Mascarpone cheese provides that authentic Italian flavor and luxurious texture that defines tiramisu. Look for imported Italian brands for the most authentic flavor profile.
- Heavy cream whipped to perfection creates the light, airy texture that balances the richness of the mascarpone. Use cream with at least 35% fat content for the best results.
- Ladyfinger biscuits act as the foundation, soaking up the espresso while maintaining enough structure to hold the dessert together. Traditional savoiardi work best.
- Strong espresso delivers the distinctive coffee flavor that makes tiramisu irresistible. Freshly brewed and cooled espresso provides superior flavor to instant varieties.
- Coffee liqueur enhances the coffee notes and adds sophistication. Use Kahlúa, Tia Maria, or even amaretto for a delightful twist.
- Unsweetened cocoa powder creates the classic dusting that provides both visual contrast and a slightly bitter element that balances the sweetness.
Step-by-Step Instructions
- Prepare the Mascarpone Cream
- Begin by chilling your mixing bowl and beaters in the freezer for 10 minutes. Using the cold equipment, whip the heavy cream with sugar and vanilla extract until soft peaks form when you lift the beater. In a separate bowl, gently work the mascarpone with a spatula until it softens slightly. With a light touch, fold the whipped cream into the mascarpone in three additions, using an under and over motion to preserve the airiness. The final texture should be rich yet fluffy, holding its shape without being too stiff.
- Create the Coffee Soak
- Brew strong espresso and allow it to cool completely to room temperature. Transfer to a shallow dish wide enough to fit the ladyfingers. If using coffee liqueur, stir it into the cooled espresso. The shallow dish allows for quick, controlled dipping that prevents the ladyfingers from becoming soggy.
- Assemble the First Layer
- Break each ladyfinger into pieces that fit comfortably in your serving glasses. Working one at a time, quickly dip each piece into the coffee mixture for no more than 2 seconds per side. The ladyfinger should absorb some liquid but still maintain its structure. Arrange the soaked pieces to create a solid base layer in each glass, filling any gaps to ensure even coverage.
- Build the Cream Layer
- Transfer the mascarpone cream to a piping bag fitted with a large round tip for the cleanest presentation. Pipe a generous layer approximately 1 cm thick over the ladyfingers, ensuring the cream reaches the edges of the glass. If you don't have a piping bag, carefully spoon the cream and smooth with the back of a spoon, keeping the glass sides clean.
- Complete the Layers
- Repeat the process with another layer of coffee soaked ladyfingers, followed by a final layer of mascarpone cream. End with mascarpone cream on top, creating a smooth, slightly domed surface. Leave about 1 cm of space below the rim of each glass for the final cocoa dusting.
- Chill to Perfection
- Cover each glass with plastic wrap without touching the cream surface. Refrigerate for a minimum of 4 hours, though overnight chilling produces the most harmonious flavors as the coffee fully penetrates the ladyfingers and the textures meld together beautifully.
- Final Presentation
- Just before serving, remove the plastic wrap and dust the top generously with unsweetened cocoa powder using a fine mesh sieve. Hold the sieve high above the glass for the lightest, most even coating. For added elegance, garnish with chocolate shavings or a few espresso beans placed precisely in the center.
 Save
Save
Mascarpone is truly the heart of this dessert. I discovered its versatility years ago during a cooking vacation in Northern Italy, where our host showed us how to select it for optimal creaminess. She insisted on room temperature mascarpone for the smoothest blend, a technique I've followed faithfully ever since.
Make Ahead Options
The beauty of this tiramisu lies in its make ahead potential. You can prepare these elegant glasses up to 48 hours before serving, which makes them perfect for entertaining. In fact, the flavors actually improve with time as the coffee essence fully permeates the ladyfingers and the cream sets to the perfect consistency. Simply cover each glass with plastic wrap and refrigerate, then add the final cocoa dusting just before presenting to guests. This make ahead capability allows you to focus on other aspects of your meal preparation when entertaining.
Perfect Substitutions
While traditional ingredients create the most authentic flavor, this recipe adapts beautifully to dietary needs or pantry limitations. For a lighter version, substitute half the mascarpone with Greek yogurt, which creates a slightly tangier profile with fewer calories. If coffee liqueur isn't available, try dark rum or simply omit the alcohol entirely. Gluten sensitive guests can enjoy this dessert using gluten free ladyfingers, which are increasingly available in specialty stores. For dairy restrictions, plant based mascarpone alternatives and coconut cream can create a surprisingly similar texture, though with a slightly different flavor profile.
The Art of Layering
Creating visually stunning layers requires attention to detail and a few chef's techniques. Start with completely chilled serving glasses to help each layer set more quickly. When piping the mascarpone cream, hold the piping bag perpendicular to the surface for the most even distribution. If preparing by hand without a piping bag, use the back of a small spoon to smooth each layer against the glass. Clean any smudges on the inside of the glass using a paper towel wrapped around your finger before adding the next layer. Finally, tapping each glass gently on a kitchen towel after adding a layer helps eliminate air bubbles and creates more defined separation between the components.
 Save
Save
Recipe FAQs
- → Can I make this tiramisu ahead of time?
Yes, this tiramisu actually benefits from being made ahead! For best results, prepare it 24 hours before serving to allow the flavors to fully develop and the texture to set properly. It can be refrigerated for up to 3 days while maintaining excellent quality.
- → Is there a non-alcoholic version of this dessert?
Absolutely! Simply omit the coffee liqueur and use only espresso or strong coffee for dipping the ladyfingers. The dessert will still have wonderful flavor without the alcohol component.
- → What type of glasses work best for serving?
Clear dessert glasses, wine glasses, or small tumblers between 8-12oz work beautifully. The key is choosing something transparent to showcase the distinct layers. Stemless wine glasses or small mason jars can also create a lovely presentation.
- → How do I prevent my ladyfingers from becoming too soggy?
The key is a quick dip rather than soaking. Simply roll each ladyfinger in the coffee mixture for 1-2 seconds per side, then immediately transfer to the glass. The ladyfingers should absorb some liquid but still maintain their structure.
- → Can I substitute mascarpone cheese with something else?
While traditional tiramisu requires mascarpone for authentic flavor, you can substitute it with a mixture of cream cheese, heavy cream, and a touch of sour cream. Beat 8oz cream cheese with 1/4 cup each of heavy cream and sour cream until smooth, though note the flavor will be slightly tangier.
- → What's the best way to make chocolate shavings for garnish?
For elegant chocolate shavings, use a vegetable peeler along the edge of a slightly warmed chocolate bar. For thinner curls, run the peeler along the flat side. Dark chocolate with 70% cocoa content creates the most sophisticated garnish that contrasts beautifully with the cocoa dusting.