
 Save
Save
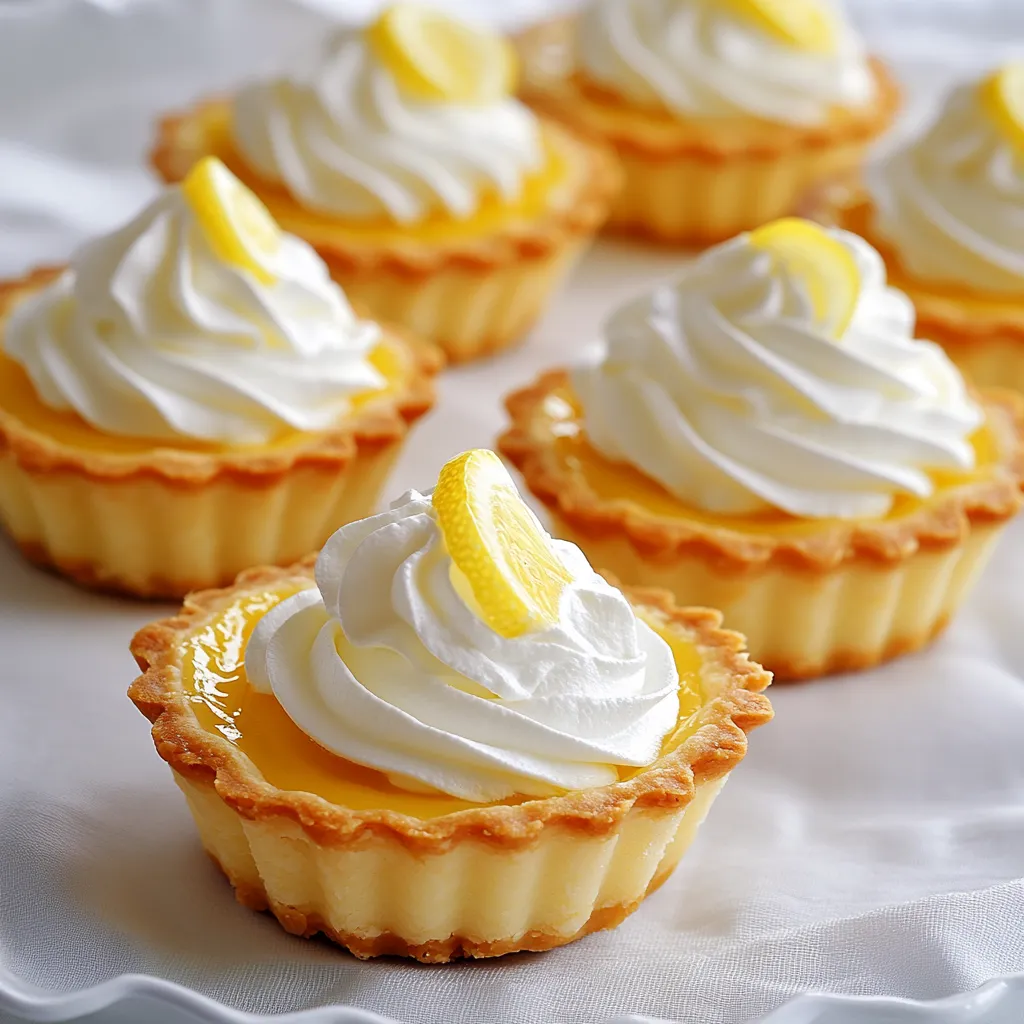
This light and refreshing lemon tart recipe balances bright citrus flavor with a buttery crust and pillowy whipped cream. The perfect spring or summer dessert, these mini tarts bring sunshine to any gathering with their vibrant yellow centers and delicate presentation.
I first made these tarts for a garden party last spring and they disappeared within minutes. Now they're my signature dessert that friends specifically request whenever I'm bringing something sweet to a gathering.
Ingredients
- All purpose flour creates a tender, shortbread like crust that holds its shape
- Powdered sugar adds sweetness without graininess in the crust
- Cold butter is essential for creating flaky layers in the pastry
- Fresh lemon juice provides bright acidity use Meyer lemons when in season for a milder flavor
- Lemon zest contains essential oils that intensify the citrus flavor
- Heavy cream with at least 36% fat content whips best look for cartons labeled heavy whipping cream
Step-by-Step Instructions
- Make the Tart Shells
- Combine dry ingredients first by whisking flour and powdered sugar together in a large bowl ensuring even distribution. Cut cold butter into small cubes and work it into the flour mixture using your fingertips or a pastry cutter until the mixture resembles coarse crumbs with some pea sized pieces of butter remaining. This creates the flakiness in the final crust.
- Form the Dough
- Add egg yolk to the flour butter mixture and drizzle in just enough cold water to help the dough come together. Be careful not to overwork the dough or add too much water as this will develop gluten and make your crusts tough. Wrap the dough in plastic and refrigerate for a full 30 minutes to relax the gluten and firm up the butter.
- Shape and Bake
- Roll the chilled dough on a lightly floured surface to about 1/8 inch thickness. Cut circles slightly larger than your tart pans to allow for the sides. Gently press dough into pans without stretching, then trim excess. Pierce bottoms several times with a fork to prevent bubbling. Bake until you see the edges turning a light golden color and the centers look dry.
- Create the Lemon Filling
- Place all filling ingredients except butter into a heavy bottomed saucepan. Whisk constantly over medium heat to prevent the eggs from scrambling. Watch for the mixture to thicken enough to coat the back of a spoon about 5 to 7 minutes. Remove from heat immediately and add butter pieces one at a time, whisking until each is fully melted and incorporated.
- Assemble and Chill
- Strain the warm lemon curd through a fine mesh sieve to remove any bits of zest or egg that may have coagulated. Gently pour or spoon the filling into cooled tart shells, filling them just below the rim. Refrigerate until the filling is completely set at least one hour but preferably two to three hours for the best texture.
- Finish with Whipped Cream
- Pour well chilled heavy cream into a cold mixing bowl. Begin whipping on low speed gradually increasing to medium high as the cream thickens. When soft trails begin to form add powdered sugar and vanilla extract. Continue whipping just until soft peaks form be careful not to overwhip or you will make butter.
 Save
Save
The lemon curd is truly the star of this recipe. My grandmother taught me to always be patient when making it, whisking constantly and never rushing the process. The first time she showed me how to make these tarts, she told me stories of making them during summer holidays when lemons were plentiful at their local market.
Storage and Make-Ahead Tips
These tarts maintain their best texture when stored in the refrigerator for up to 3 days. The crust will gradually soften as it absorbs moisture from the filling, but many people prefer this texture. For the freshest presentation, store the filled tarts and whipped cream separately, adding the cream just before serving. The tart shells can be baked up to 5 days ahead and stored in an airtight container at room temperature, while the lemon filling keeps well refrigerated for up to a week.
Flavor Variations
While classic lemon is hard to beat, this versatile recipe welcomes creative adaptations. Try substituting lime or blood orange juice and zest for a different citrus profile. For a more complex flavor, add a tablespoon of finely chopped fresh herbs like basil or thyme to the whipped cream. A teaspoon of lavender buds steeped in the heavy cream then strained before whipping creates an elegant floral note that pairs beautifully with the lemon.
Serving Suggestions
These tarts shine as the centerpiece of an afternoon tea service alongside finger sandwiches and hot tea. For a dinner party finale, serve each tart on a pool of raspberry coulis with fresh berries scattered alongside. During warm weather, these tarts pair wonderfully with a glass of prosecco or a light dessert wine like Moscato d'Asti. For family gatherings, create a mini dessert station with these tarts alongside other bite sized treats.
Recipe FAQs
- → Can I make these lemon tarts ahead of time?
Yes! You can prepare the tart shells and lemon curd up to 2 days in advance. Store the baked shells in an airtight container at room temperature and the lemon curd covered in the refrigerator. Assemble and add the whipped cream just before serving for the freshest result.
- → How do I know when the lemon curd is thick enough?
The lemon curd is ready when it coats the back of a spoon and you can draw a line through it with your finger that holds its shape. It should reach about 170°F (77°C) if you're using a thermometer. Remember it will continue to thicken as it cools.
- → Can I freeze these tarts?
You can freeze the tart shells and filled tarts (without whipped cream) for up to 1 month. Thaw overnight in the refrigerator and add fresh whipped cream before serving. The texture of the curd may change slightly after freezing but will still be delicious.
- → What's the best way to get the tarts out of the pan?
If using mini tart pans with removable bottoms, simply push up from the bottom. For muffin tins, let the tarts cool completely, then carefully run a small knife around the edges before gently lifting them out.
- → How can I prevent my tart shells from shrinking during baking?
Chill the tart shells for at least 30 minutes before baking and use pie weights or dried beans on parchment paper during the first half of baking. This helps the dough maintain its shape and prevents air bubbles from forming.
- → What can I substitute for heavy cream in the topping?
You can use coconut cream (the solid part from a refrigerated can of coconut milk) as a dairy-free alternative. Whip it with powdered sugar and vanilla just like heavy cream. For a lighter option, try Greek yogurt sweetened with honey.