
 Save
Save
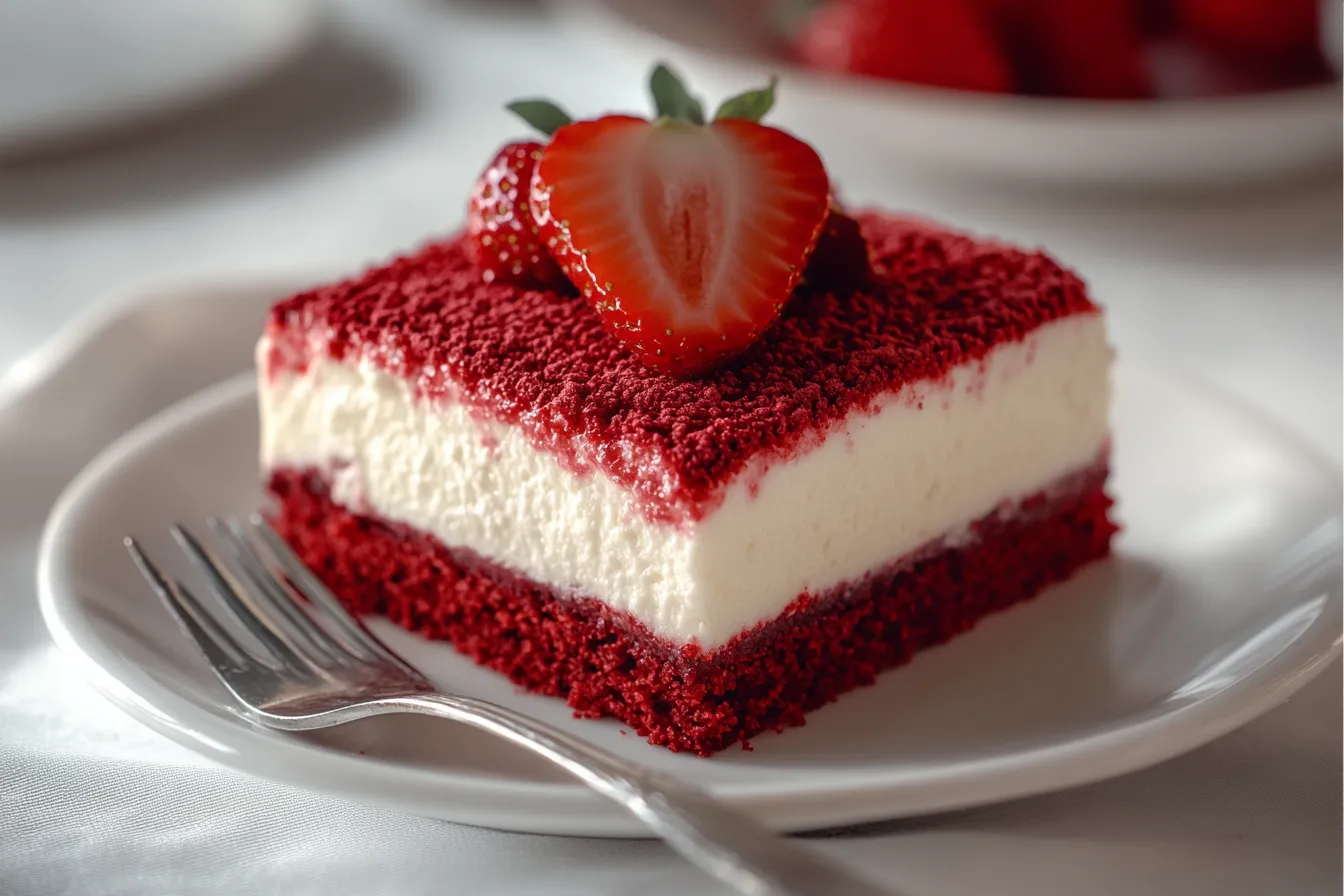
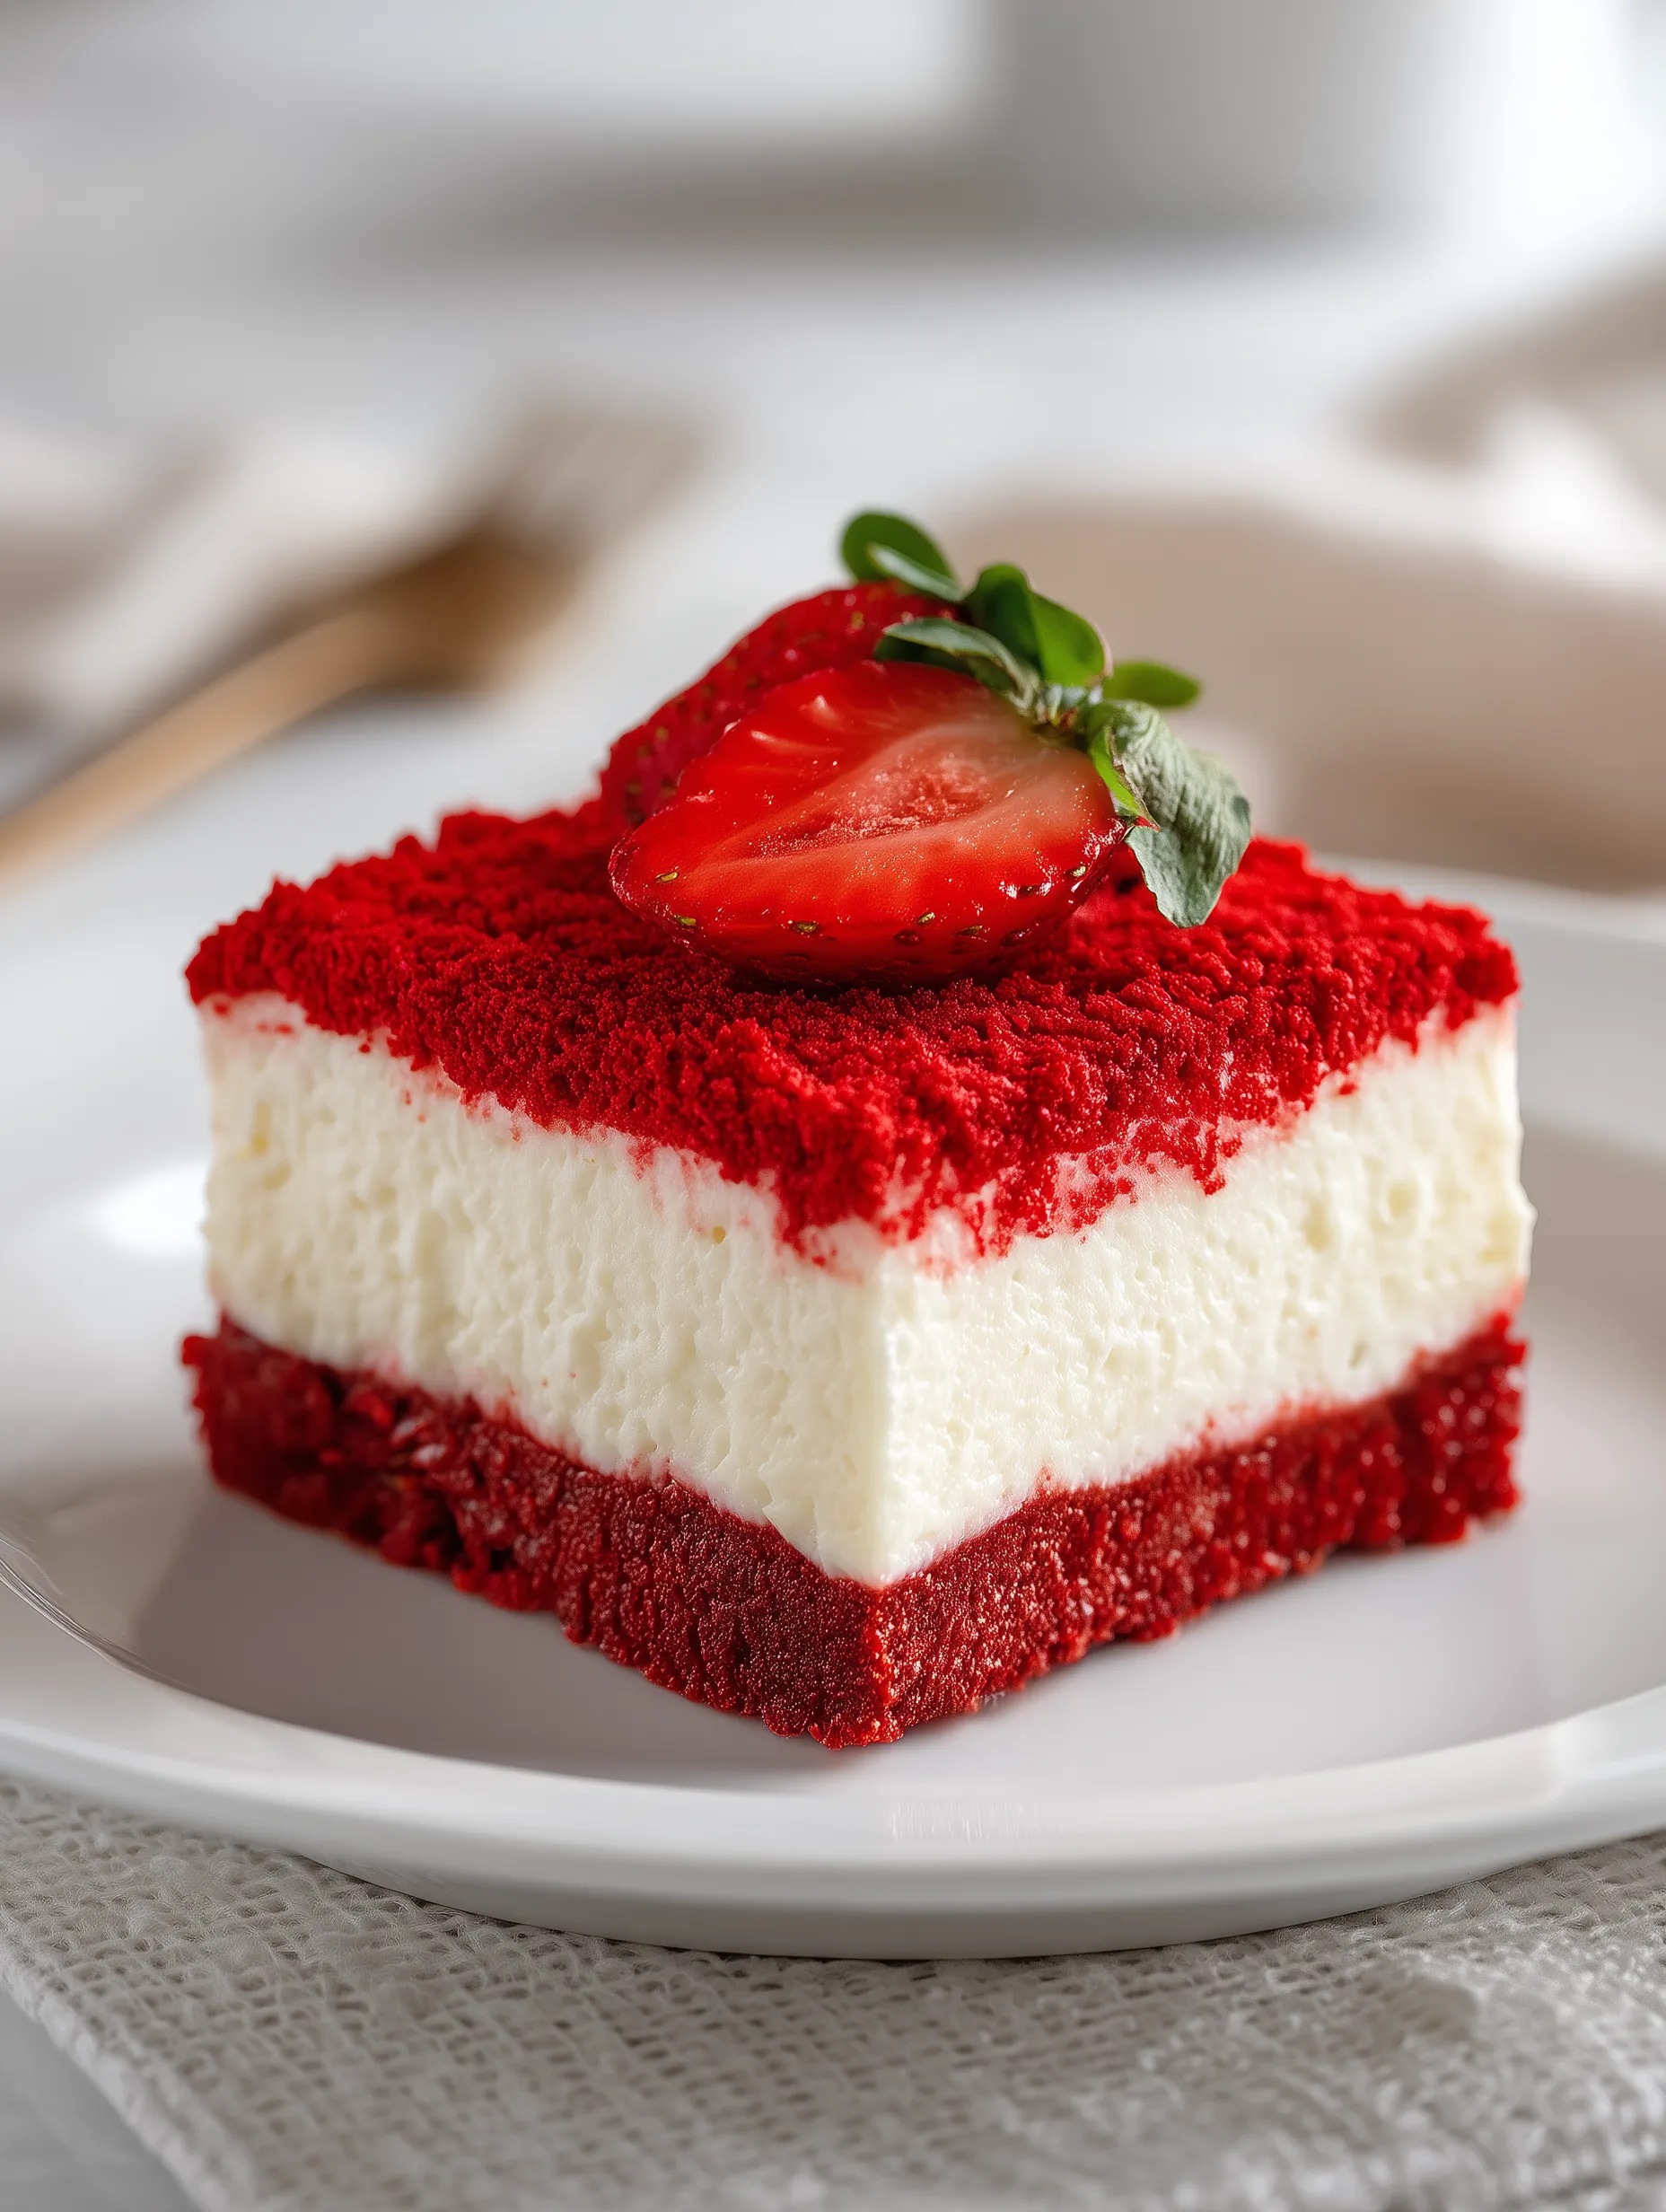
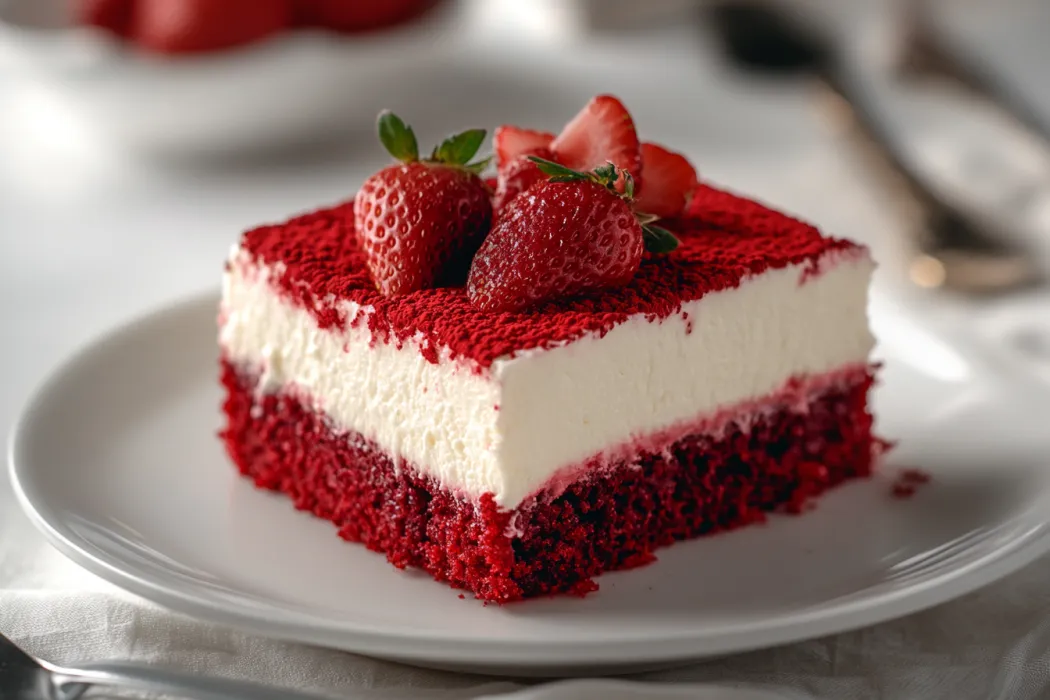
This stunning homemade cheesecake features a buttery red velvet cookie crust, a rich and creamy vanilla cheesecake center, and a vibrant strawberry crunch topping made with freeze-dried strawberries and crushed cookies. It's the perfect showstopper dessert for any occasion.
I created this recipe for my daughter's 16th birthday celebration when she requested something "extra special" that combined her two favorite desserts. The look on her face when I revealed it was absolutely priceless.
Ingredients
- For the Red Velvet Cookie Crust
- 1 1/2 cups red velvet cake crumbs or crushed red velvet Oreos these provide that signature red velvet flavor and create a sturdy base for your cheesecake
- 1/4 cup melted unsalted butter helps bind the crust and adds richness look for European style butter for extra creaminess
- For the Cheesecake Filling
- 3 8 oz packages cream cheese softened use full fat for the creamiest texture and best flavor
- 1 cup granulated sugar balances the tanginess of the cream cheese
- 1/2 cup sour cream adds moisture and a slight tang to complement the sweetness
- 1 tsp vanilla extract use pure extract for the best flavor
- 3 large eggs provide structure and richness to the filling
- 2 tbsp all purpose flour helps prevent cracking during baking
- For the Strawberry Crunch Topping
- 1/2 cup freeze dried strawberries these provide intense strawberry flavor without adding moisture choose bright red berries for best color
- 1/2 cup golden Oreo cookies or vanilla wafers adds sweet crunch and complements the strawberry flavor
- 2 tbsp melted butter binds the topping together so it adheres to the cheesecake
Step-by-Step Instructions
- Prepare the Crust:
- Begin by preheating your oven to exactly 325°F. The moderate temperature is crucial for a proper bake without excessive browning. Combine your red velvet crumbs thoroughly with the melted butter in a medium bowl, pressing with the back of your spoon until every crumb is moistened. Transfer this mixture to your springform pan and press firmly using the flat bottom of a measuring cup, creating an even layer that extends about half an inch up the sides. The pressure applied here matters greatly as a loose crust will crumble when serving. Bake for precisely 8 to 10 minutes until just set but not browned. You'll notice a slightly deeper red color and a fragrant aroma when it's ready.
- Make the Cheesecake Filling:
- In your stand mixer with the paddle attachment or using a hand mixer on medium speed, beat the cream cheese for a full 2 minutes until completely smooth and free of any lumps. This step is absolutely essential for a silky texture. Gradually add the sugar while continuing to beat, scraping down the sides of the bowl multiple times. The mixture should lighten in both color and texture. Mix in the sour cream and vanilla until fully incorporated, then reduce the speed to low before adding each egg individually, allowing each to fully integrate before adding the next. This prevents excess air from being incorporated which can cause cracks. Finally, sprinkle the flour over the mixture and fold it in with a rubber spatula using gentle strokes just until you no longer see dry flour. The batter should now be silky smooth with a slight sheen.
- Bake the Cheesecake:
- Prepare a water bath by wrapping the outside of your springform pan with two layers of heavy duty aluminum foil, making sure there are no gaps or tears that could allow water to seep in. Place the wrapped pan into a larger roasting pan and pour the cheesecake batter over the cooled crust, gently smoothing the top with an offset spatula. Pour hot water into the roasting pan until it reaches halfway up the sides of the springform pan. This creates a humid environment that ensures gentle, even baking. Carefully transfer to the oven and bake for 55 to 65 minutes. The cheesecake is done when the outer 2 inches appear set but the center still has a slight wobble when gently shaken. Without opening the door, turn off the oven and use a wooden spoon to prop the door open about an inch. Let the cheesecake gradually cool in the oven for exactly one hour before removing. This slow cooling prevents the dramatic temperature change that causes cracks. Refrigerate for a minimum of 4 hours but preferably overnight to allow the flavors to fully develop and the texture to set completely.
- Make the Strawberry Crunch Topping:
- Just before serving, prepare your signature topping by placing the freeze dried strawberries in your food processor and pulsing until they reach a fine powder with some small chunks remaining for texture. Add the cookies and pulse again until you have a mixture of fine crumbs and small pieces. The contrast in texture is what makes this topping special. Transfer to a bowl and drizzle with melted butter, using a fork to toss until the mixture becomes slightly clumpy and resembles wet sand. The butter should be just enough to moisten without making the mixture soggy. Gently press this mixture over the top of your fully chilled cheesecake, covering it completely and creating a vibrant red layer that will provide a delightful crunch against the creamy filling.
 Save
Save
The first time I served this at our family gathering, my normally reserved brother in law actually stood up and applauded. The freeze dried strawberries are my secret weapon in this recipe they provide such concentrated flavor without adding unwanted moisture that would make the topping soggy.
Perfect Storage Solutions
This magnificent cheesecake maintains its quality remarkably well when stored properly. Keep it covered in the refrigerator for up to 5 days, though the strawberry topping will gradually soften over time. For best results, you can store the cheesecake and prepare the topping fresh just before serving. If you need to make it further in advance, the plain cheesecake freezes beautifully for up to 2 months when wrapped tightly in plastic wrap and aluminum foil. Thaw overnight in the refrigerator before adding the fresh topping.
Clever Substitutions
If red velvet ingredients aren't readily available, create your own red velvet crumbs by combining chocolate cookie crumbs with a few drops of red food coloring. For a dairy sensitive option, plant based cream cheese can work, though the texture will be slightly different. Lacking freeze dried strawberries? Dried strawberries pulsed with a tablespoon of sugar can work in a pinch, though the topping won't be quite as crunchy. During strawberry season, nothing beats decorating with fresh local berries alongside the crunch topping for a double strawberry experience.
Serving Suggestions
Transform this already impressive dessert into a truly memorable experience by serving each slice on a chilled plate with a small pitcher of warm white chocolate sauce for guests to pour over tableside. The temperature contrast creates a delightful sensation. For special occasions, place a whole strawberry dipped in white chocolate at the side of each slice. This cheesecake pairs beautifully with dessert wines like a Late Harvest Riesling or even a glass of champagne for celebrations. For family gatherings, set up a toppings bar with different sauces and fresh berries so everyone can customize their slice.
 Save
Save
Recipe FAQs
- → Can I use fresh strawberries instead of freeze-dried in the topping?
Fresh strawberries contain too much moisture for the crunchy topping. Using freeze-dried strawberries is essential for achieving the signature crunch and concentrated flavor. If you can't find freeze-dried strawberries, strawberry Jell-O powder mixed with crushed vanilla cookies can work as an alternative, though the flavor will be slightly different.
- → What's the best way to prevent cracks in my cheesecake?
To prevent cracks: 1) Use room temperature ingredients, 2) Don't overmix the batter, especially after adding eggs, 3) Always bake in a water bath (bain-marie), 4) Cool gradually by turning off the oven and leaving the door cracked, and 5) Run a thin knife around the edge after baking to loosen the sides.
- → Can I make this dessert ahead of time?
Yes! This cheesecake is perfect for making ahead. The cheesecake itself can be prepared 1-2 days in advance and stored in the refrigerator. For best results, add the strawberry crunch topping just before serving to maintain its texture. If needed, you can also freeze the plain cheesecake (without topping) for up to 2 months.
- → What can I substitute for red velvet cake crumbs?
If you can't find red velvet cake crumbs or Oreos, you can use regular chocolate cookies or graham crackers mixed with a tablespoon of cocoa powder and a few drops of red food coloring. Alternatively, vanilla cookies with red food coloring will also work to achieve the red velvet appearance and flavor profile.
- → How do I achieve clean slices when serving?
For picture-perfect slices, fill a tall glass with hot water, dip your knife into it for 15-20 seconds, wipe it dry, then make your cut. Repeat this process between each slice. This warming technique helps the knife glide smoothly through the dense cheesecake. For best results, make sure the cheesecake is thoroughly chilled before slicing.
- → Can I make this into mini cheesecakes instead?
Absolutely! Use a cupcake tin lined with paper liners and follow the same recipe. The mini cheesecakes will need less baking time—approximately 20-25 minutes. The water bath isn't necessary for minis, but place a pan of water on the rack below to create humidity in the oven. This makes approximately 24 mini cheesecakes.