
 Save
Save
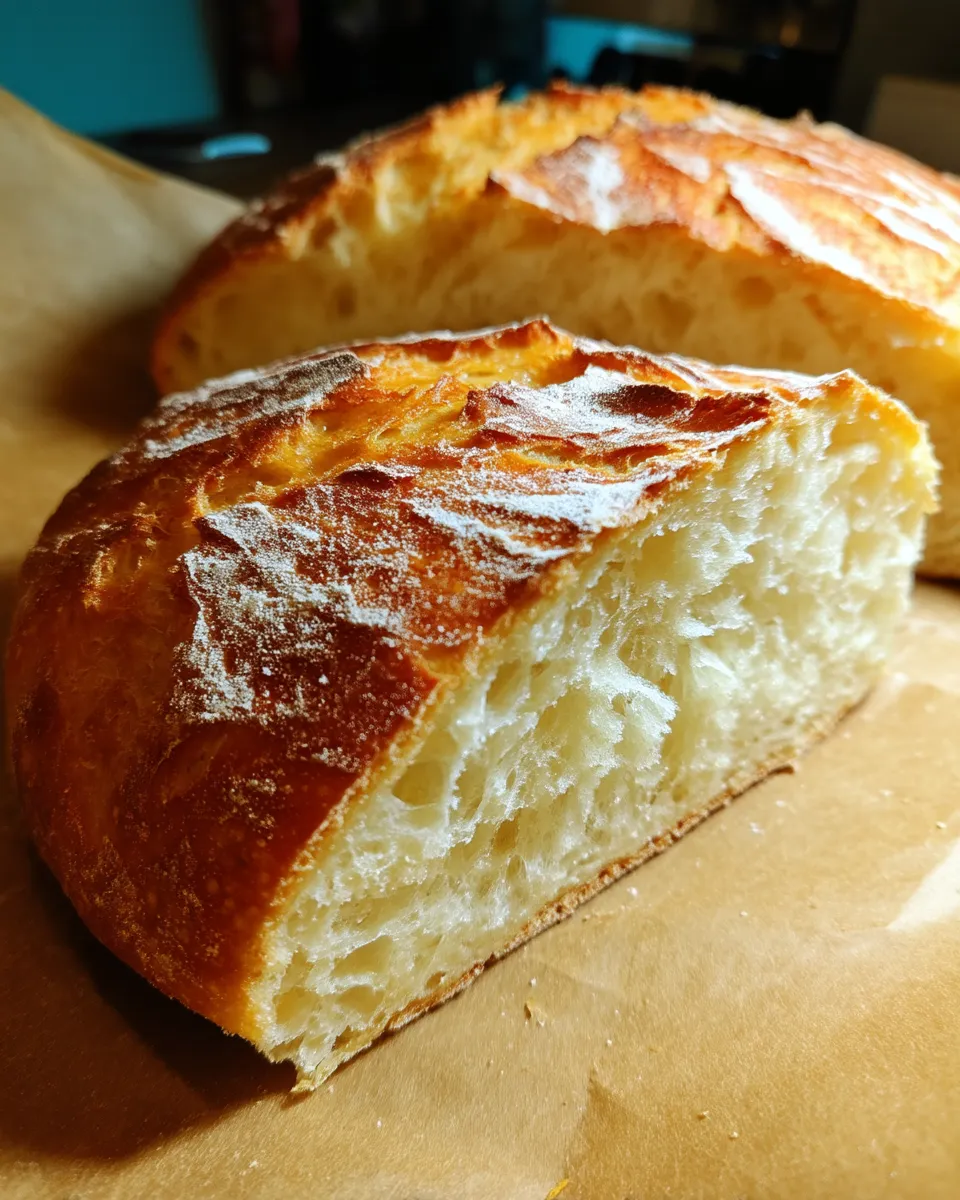
This hearty no-knead bread has completely transformed my home baking experience, creating a bakery-worthy loaf with minimal effort. The contrast between the crackly crust and soft interior creates a texture that rivals artisanal bakeries, yet requires only the most basic pantry ingredients.
I discovered this technique during a winter storm when I couldn't get to the store. Now my family requests it weekly, often gathering in the kitchen just to inhale that irresistible fresh bread aroma that fills our home.
Ingredients
- 3 cups all purpose flour provides the structure and becomes magically transformed through the long fermentation
- 1½ cups warm water activates the yeast and creates the perfect hydration level for a tender crumb
- ½ teaspoon dry active yeast seems small but works overtime during the long rest period
- 1½ teaspoons salt enhances flavor and controls the yeast activity for proper rising
Step-by-Step Instructions
- Mix the Dough
- In a large mixing bowl, thoroughly whisk together your flour, salt, and yeast until well combined. Pour in the warm water and stir with a wooden spoon until you have a shaggy, sticky dough. The mixture will look rough and uneven, which is exactly what you want. Resist any urge to knead it, as this dough develops its texture through time rather than manipulation.
- Let it Rest
- Cover your bowl tightly with plastic wrap or a clean kitchen towel. Place it in a draft-free spot at room temperature and let it work its magic for 12 to 18 hours. During this time, the dough will undergo a slow fermentation, developing complex flavors while nearly doubling in size. You'll know it's ready when the surface is dotted with bubbles and has a slightly wet, glossy appearance.
- Shape the Dough
- Generously dust your work surface with flour. Using a dough scraper or your hands, gently transfer the sticky dough onto the floured surface. With floured hands, fold the edges toward the center to form a rough ball shape. Avoid pressing out air bubbles. Transfer the dough seam-side down onto a piece of parchment paper and let it rest for another 30 to 60 minutes while your oven preheats.
- Bake
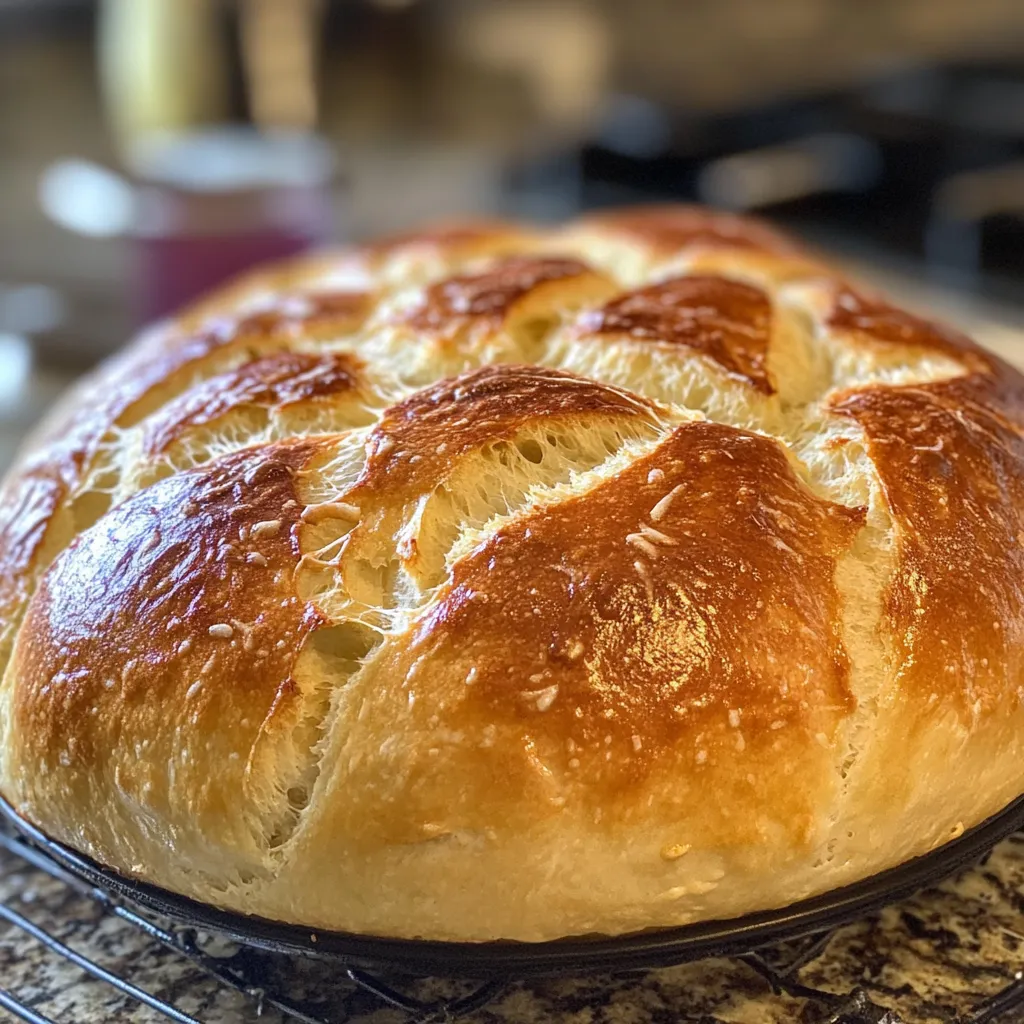
- Place your Dutch oven or heavy pot with a lid into the cold oven, then preheat to 450°F. Allow both oven and pot to heat thoroughly for at least 30 minutes. Carefully remove the screaming hot pot, lift your dough by the parchment paper edges and lower it into the pot. Cover with the lid and return to the oven. Bake covered for 30 minutes to trap steam, then remove the lid and bake for another 10 to 15 minutes until the crust achieves a deep golden brown color.
- Cool and Enjoy
- Transfer your freshly baked loaf to a wire rack and resist the temptation to slice immediately. The bread continues cooking inside as it cools, and cutting too soon will release steam and create a gummy texture. Wait at least 15 minutes before cutting into your masterpiece, listening for the satisfying crackle of the crust as you slice.
 Save
Save
The secret ingredient here is actually time. I learned this technique from my grandmother who always said good bread needs patience more than effort. She would start her dough before bed and bake after lunch the next day, filling the house with that incredible aroma that signals comfort and home.
The Science Behind No-Knead Bread
Traditional bread recipes rely on kneading to develop gluten networks that trap air and create structure. This recipe achieves the same results through a long fermentation period. The extended rest time allows the flour proteins to align naturally and form those crucial gluten strands. Meanwhile, the yeast works slowly, producing carbon dioxide that creates air pockets throughout the dough while also developing more complex, almost sourdough like flavors without the need for a starter.
Troubleshooting Tips
If your bread turns out dense or flat, your yeast might be expired or your water temperature was incorrect. Yeast needs warm but not hot water around 100 to 110°F to activate properly. Too cold and it sleeps, too hot and it dies. Another common issue is measuring flour incorrectly. For best results, fluff the flour with a fork before scooping and level it off with a knife rather than packing it down.
Creative Variations
Transform your basic loaf by incorporating different flavors directly into the dough. Add a handful of olives and rosemary for a Mediterranean twist, or mix in aged cheese and cracked black pepper for a savory masterpiece. Sweet variations work beautifully too try cinnamon and raisins with a touch of honey in the dough. You can also experiment with different flour blends, substituting up to one cup of the all purpose flour with whole wheat, rye, or spelt for heartier variations with more complex flavors.
Serving Suggestions
This bread shines brightest when served warm with good quality salted butter that slowly melts into the airy interior. For breakfast, toast thick slices and top with avocado and a sprinkle of sea salt. At dinner, tear chunks to dip in olive oil and balsamic vinegar alongside pasta. It makes exceptional grilled cheese sandwiches, and day old bread transforms into perfect crostini or bread pudding. This versatile loaf complements nearly any meal from casual soup nights to elegant dinner parties.
 Save
Save
Recipe FAQs
- → Why don't you need to knead this bread?
The long 12-18 hour fermentation does the work for you! This extended rest allows the gluten to develop naturally, creating the structure you'd normally achieve through kneading. The slow fermentation also develops more complex flavors and creates those beautiful air pockets in the finished loaf.
- → What makes the crust so crispy and golden?
The secret is baking the bread in a preheated Dutch oven or heavy pot with a lid. This creates a mini steam oven environment - the trapped moisture from the dough helps develop that professional-quality crust. Removing the lid for the final 10-15 minutes allows the crust to achieve that perfect golden color and crackling texture.
- → Can I use different types of flour?
Absolutely! While all-purpose flour works perfectly, you can experiment with bread flour for a chewier texture or substitute up to 1 cup of whole wheat flour for added nutrition and nutty flavor. Just note that whole grain flours may require a bit more water and produce a slightly denser loaf.
- → How can I tell when my dough has fermented long enough?
Look for three key signs: the dough should have doubled in size, developed a bubbly surface, and have a slightly sour, yeasty aroma. The timing can vary based on room temperature - warmer kitchens speed up fermentation while cooler environments slow it down.
- → Why is my bread turning out dense instead of fluffy?
Dense bread usually means either too little fermentation time or over-handling the dough. Make sure you're allowing the full 12-18 hours for the first rise, and when shaping, be very gentle to preserve the air bubbles. Also, verify your yeast is fresh and that your water temperature is warm (100-110°F) but not hot enough to kill the yeast.
- → Can I make the dough ahead and bake it later?
Yes! After the initial long fermentation, you can refrigerate the dough for up to 3 days. This actually enhances flavor development. When ready to bake, let the cold dough sit at room temperature for about an hour before shaping and continuing with the final rise and baking steps.