
 Save
Save
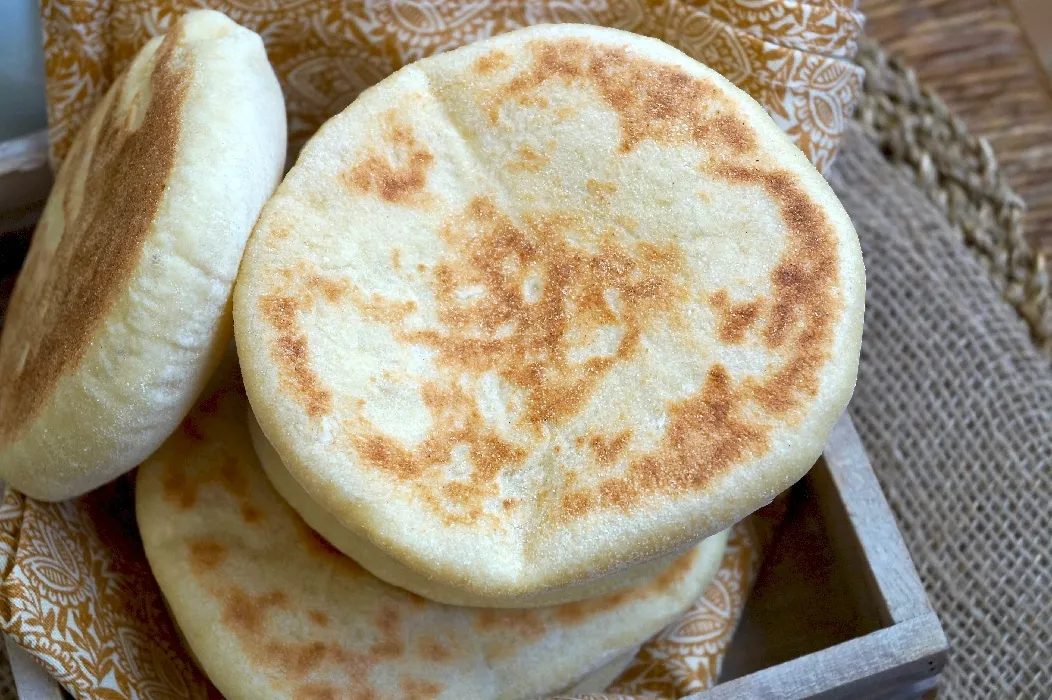
This homemade pita bread recipe creates soft, pillowy flatbreads with perfect pockets using just a skillet on your stovetop. No fancy equipment or complicated techniques needed for these delicious, versatile pitas that will make you never want to buy store-bought again.
I first made these pitas during a power outage when my oven was out of commission. My family was so impressed with how authentic they tasted that skillet pitas have become our weekend tradition ever since, even with a perfectly functioning oven.
Ingredients
- Active dry yeast Provides the essential rise for fluffy pitas. Make sure it's fresh for optimal results.
- Sugar Feeds the yeast and helps create that perfect pita texture. Regular granulated works perfectly.
- Warm water The ideal temperature activates yeast without killing it. Test on your wrist it should feel warm but not hot.
- All-purpose flour Creates the perfect balance of chew and tenderness. Unbleached gives the best flavor.
- Salt Enhances flavor and controls yeast activity. Use kosher or sea salt for best results.
- Olive oil Optional but recommended for a softer more tender pita with longer shelf life.
Step-by-Step Instructions
- Activate the Yeast
- Combine warm water (110°F), sugar, and yeast in a small bowl. Let it sit undisturbed for 5-10 minutes until the mixture becomes foamy and fragrant, indicating active yeast. If it doesn't foam, your yeast might be old or your water too hot start over.
- Make the Dough
- In a large bowl, whisk together flour and salt to evenly distribute. Create a well in the center and pour in your foamy yeast mixture and olive oil if using. Mix with a wooden spoon until a shaggy dough forms, then switch to using your hands to bring everything together.
- Knead the Dough
- Turn the dough onto a lightly floured surface and knead for a full 8-10 minutes. This develops the gluten that creates those perfect pockets. The dough should become smooth, elastic, and slightly tacky but not sticky. If too dry, add water a teaspoon at a time.
- Let It Rise
- Place your kneaded dough in a lightly oiled bowl and turn it once to coat with oil. Cover with a damp kitchen towel or plastic wrap and place in a warm, draft-free spot for about an hour. Look for the dough to double in size and show small bubbles on the surface.
- Shape the Pitas
- Gently punch down the risen dough to release air bubbles. Divide into 6 equal pieces using a bench scraper or knife. Roll each piece into a smooth ball by cupping your hand and rotating against your work surface. Cover with a towel and let rest for 10 minutes to relax the gluten.
- Roll Out
- On a lightly floured surface, flatten each ball with your palm, then roll into a circle about 6 inches in diameter and ¼ inch thick. Keep thickness even across the entire pita for proper puffing. Too thin and they won't form pockets, too thick and they'll be doughy.
- Cook on Skillet
- Heat a cast iron skillet or heavy nonstick pan over medium-high heat until very hot. Place one pita on the dry pan and cook for 1-2 minutes until bubbles form on the surface and the bottom shows golden brown spots. Flip and cook another 1-2 minutes until the magical puffing happens.
- Keep Warm
- Transfer cooked pitas to a clean kitchen towel and wrap them completely. The residual steam softens the pitas and keeps them flexible. Stack additional pitas as you make them, keeping the towel closed between additions to trap warmth and moisture.
 Save
Save
The magic moment when the pita puffs up like a balloon in the skillet never ceases to amaze me. My daughter now stands on a kitchen stool watching intently as each one inflates, calling it "bread magic." That perfect pocket is created by steam building between the layers of dough.
Troubleshooting Common Issues
Pitas that don't puff properly usually indicate one of three problems. First, your skillet might not be hot enough the pan should be very hot before adding the dough. Second, your dough may be rolled unevenly aim for consistent thickness throughout. Finally, overworking the dough after the rise can destroy the gas bubbles needed for proper inflation. Handle the divided dough gently and give it that 10-minute rest before rolling.
Storage and Reheating
Fresh homemade pitas are best consumed within 24 hours, stored in a plastic bag at room temperature. For longer storage, place completely cooled pitas in a freezer bag with parchment paper between each to prevent sticking, and freeze for up to 3 months. To refresh pitas, lightly sprinkle with water and heat in a 350°F oven for 5 minutes, or wrap in a damp paper towel and microwave for 10-15 seconds. Alternatively, quickly pass them over an open flame on your gas stovetop for a fresh-made texture.
Serving Suggestions
These versatile pitas shine in so many applications beyond the traditional sandwich pocket. Cut them into triangles and toast in a 375°F oven until crisp for homemade pita chips. Use as a base for individual pita pizzas topped with sauce, cheese, and your favorite toppings. For breakfast, stuff with scrambled eggs, feta, and spinach. My family's favorite way to enjoy them is fresh from the skillet, torn into pieces and scooped through homemade hummus while still warm.
The Cultural Significance
Pita bread has been a staple food throughout the Mediterranean and Middle East for thousands of years. Traditional methods involved baking in intensely hot stone ovens where the steam created the signature pocket. Our skillet method is a modern adaptation that home cooks developed to replicate this ancient technique without specialized equipment. The bread's name varies by region from "pita" in Greece to "khubz" in Arab countries to "aish" in Egypt, where it's so essential it shares the word for "life."
Recipe FAQs
- → Why isn't my pita bread puffing up in the skillet?
Several factors can prevent puffing: your skillet may not be hot enough (it should be medium-high heat), the dough might be too thick or uneven (aim for ¼ inch thickness), or the dough might need more resting time. Also ensure your dough has the right hydration level - not too dry or too wet.
- → Can I make pita bread with whole wheat flour?
Yes! You can substitute up to half of the all-purpose flour with whole wheat flour. For 100% whole wheat pitas, you may need to add slightly more water as whole wheat flour absorbs more moisture. The texture will be denser but nutritionally richer.
- → How do I store homemade pita bread?
Once completely cooled, store pitas in an airtight container or sealed bag at room temperature for 2-3 days. For longer storage, freeze them with parchment paper between each pita. Reheat frozen pitas by lightly dampening with water and warming in a skillet or microwave.
- → What can I serve with homemade pita bread?
Homemade pita pairs beautifully with hummus, baba ganoush, tzatziki, or any Middle Eastern dip. Use it to make gyros, falafel wraps, or stuff with grilled meats and vegetables. You can also cut and toast pita triangles for homemade pita chips.
- → Can I make the dough ahead of time?
Yes, you can prepare the dough up to 24 hours in advance and store it in the refrigerator. Cold fermentation actually improves flavor! Let the dough come to room temperature for about 30 minutes before rolling and cooking.
- → Why is my pita bread tough rather than soft?
Tough pita usually results from overworking the dough, overcooking, or insufficient hydration. Be gentle when kneading, don't exceed the recommended cooking time, and consider adding the optional olive oil for a softer texture. Always cover freshly cooked pitas with a clean towel to trap steam and maintain softness.